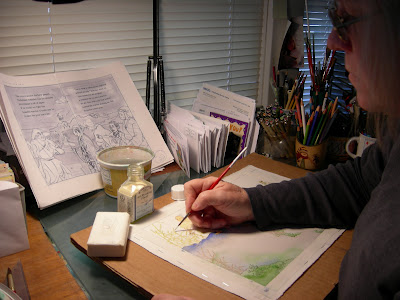
As an illustrator using traditional watercolor techniques, I usually stretch my paper.
Here is a step-by-step tutorial for stretching watercolor paper, and the reasoning behind why I do it.
Stapling 140 pound arches cold-press watercolor paper to cardboard.
What is stretching?
Stretching means that you soak your paper and secure the edges so that the paper dries flat and taut, almost like a drum head.
Why stretch watercolor paper?
There are several reasons, but first and foremost is to keep the paper flat. When you wet paper, the fibers expand and the paper warps. The wetter you work, the more your paper will buckle. It's pretty hard to control your paint when it's cascading into a valley.
Even if you stretch your paper, you will have some warping as you work, but the paper will dry flat.
How do you stretch watercolor paper?
I was taught to stretch paper with Masonite and butcher tape, which always ended up as an exercise in frustration for me. (heavy, clunky boards and tape that didn't stick) Many years ago, I read an article in HOW magazine that recommended using cardboard and a stapler instead. I've happily followed that technique ever since.
Materials needed:

- Decent watercolor paper. I use 140 lb. Arches, brilliant white. Fabriano, Strathmore, and Winsor-Newton make good papers, too.
- 90 lb. paper is too flimsy for serious watercolor work.
- 300 lb. paper doesn't require stretching, but it is expensive, and you can't see through it to trace up a sketch, which is a problem for me.
- Cardboard. This is tricky. I got some triple corrugated cardboard years ago from Charette, cut it into various dimensions, and it has lasted for twenty years. Sadly, it's now unavailable. Try to find cardboard that's good and sturdy, and larger than the paper you want to stretch. Chipboard is NOT sturdy enough. Corrugated is good, with no folds. If you have trouble with the cardboard buckling, you can staple two boards together.
- Recently I have begun to use Grafix Incredible Art Board. I don't like it as well as my old triple corrugated, but it works. (expensive)
- Stapler. I use a Staples stapler. Any stapler that you can open flat will work. I don't need an electric stapler. Some people use bull dog clips or artist's tape.
This is my technique:

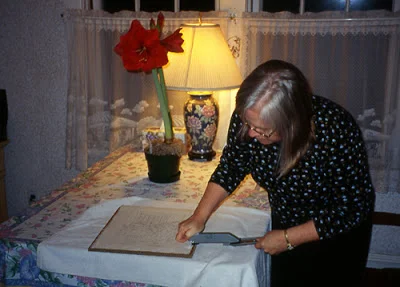
I begin by tracing my sketch to the paper before I stretch it. I use a pencil and light-table.
1. Soak the paper.
You can do this in a sink, a bathtub, or a large container. I often softly fold my paper in half so I can use the sink. Whatever vessel you use, make sure it's clean! Watercolor paper is treated with something called sizing. It's purpose is to keep the paper from absorbing too much. You don't want to soak out the sizing, so use cold water, and let the paper soak for a couple of minutes... not more than five.
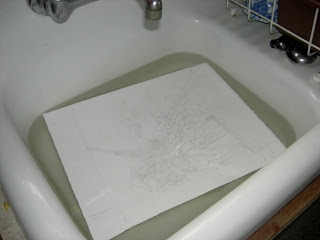
Soak paper in clean sink.


Let water drip from paper.
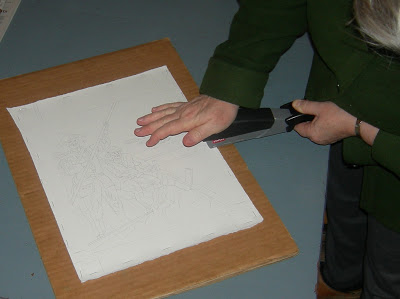
2. Remove excess water.
Pick up the paper by a corner and let it drip, then lay it flat on your board and lightly blot it with a towel.

Blot lightly with a towel.
3. Staple the paper to the cardboard.
I use a regular office stapler that opens flat. Begin with one staple at the center of each side, to make sure you have your paper flat. Then staple about every 2 inches.
Staple damp paper to board.
4. Leave the board flat.
Wait until the paper is dry (unless you plan to work wet.) This takes several hours. I usually try to plan ahead so I can leave it overnight. If the paper feels cold to the touch, it's probably still wet, but you can check a corner to see if it's dry enough not to bleed.
Alternatives to stretching.
I find that soaking the paper makes it nicely receptive to washes. However, if you are not using wet washes over broad areas, you may not need to stretch good quality 140 lb. paper at all.
You can also just staple or tape the paper to a board without soaking it, and that will keep the paper relatively flat.
You can use 300 lb paper. No stretching required.
Some illustrators "paint" the back side of you paper with water, then staple it down to a board. That way they can start working right away.